Colourful Fun: A Guide to Tie-Dyeing with Young Children
Are you looking for a creative and colourful activity to enjoy with your little one this Spring? Why not try tie-dyeing – the perfect craft that blends artistry, science, and fun? Tie-dying is also an excellent way to engage their imaginations and teach them about colours and patterns – plus, the end result is a wardrobe full of unique and vibrant clothing items!
We’ve also found that tie-dying can bring back to life some of those well-loved Preschool clothes – with the stains you can just never seem to get out. Simply cover with beautiful tie-dyed patterns!
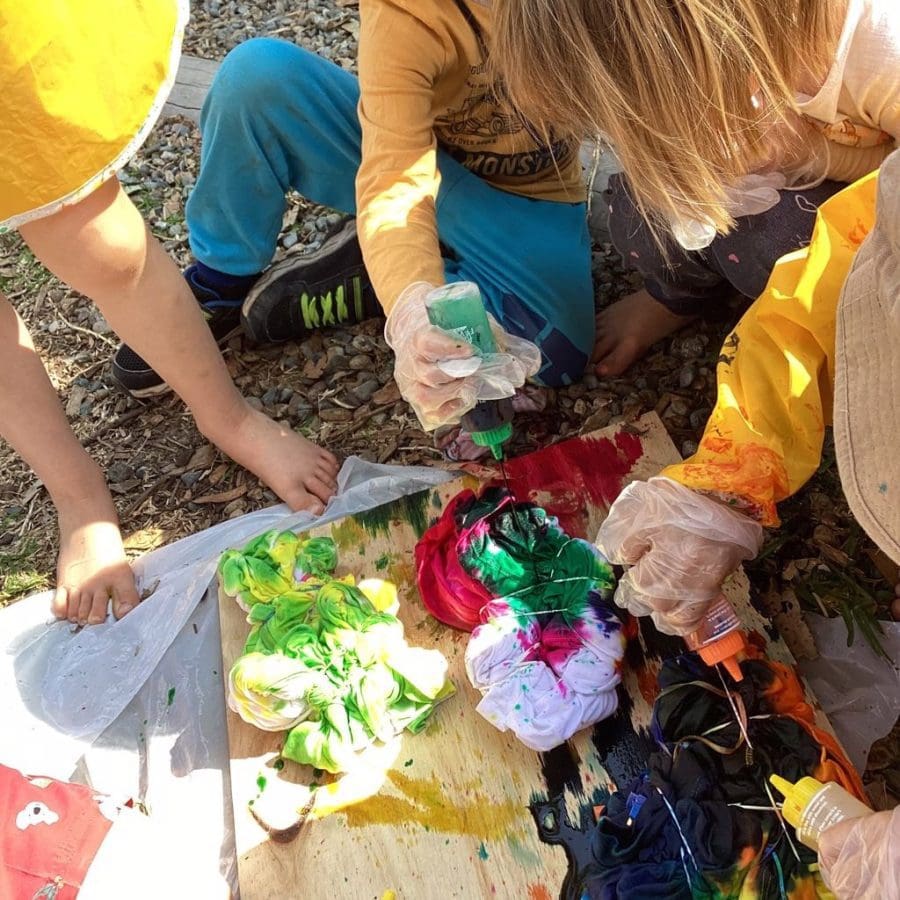
Recently, we got to work tie-dying some shirts and socks that will be used by the new Sustainable Play Soccer Team (made up of SPP Educators) – and we loved every minute. That’s why we’re so excited to show you how to embark on a tie-dye adventure with your little one, turning plain white garments into works of art.
Materials You’ll Need
Before diving into the tie-dyeing process, make sure you gather all the necessary materials. You can find most of these items around the house, or at your local craft store.
- White Clothing Items: Start with white T-shirts, socks, or other clothing items made from natural fibres like cotton. We also love to use clothes that have slight stains or discolouration from a little too much play!
- Tie-Dye Kit: Purchase a kid-friendly tie-dye kit that includes bottles of dye, gloves, rubber bands, and instructions. These kits are readily available and come in a variety of colour options.
- Plastic Tablecloth or Garbage Bags: Tie-dyeing can get messy, so lay down a plastic tablecloth or garbage bags to protect your work surface.
- Plastic squeeze bottles: These are usually included in tie-dye kits, but you may need extras for additional colours or designs.
- Water: You’ll need water for diluting the dye and rinsing the items.
- Bucket or Sink: For rinsing out the excess dye.
- Old Clothes or Aprons: Have everyone wear something they don’t mind getting a little messy.
- Plastic Containers or Ziplock Bags: Use these to store the dyed items while they set, preventing the colours from bleeding into each other.
Now that you have your materials ready, let’s get started!
Tie-Dyeing Method
- Preparation: Set up your work area and make sure everyone is wearing old clothes or aprons. Put on gloves to protect your hands from staining.
- Select Your Design: There are countless tie-dye patterns to choose from, including spirals, bullseyes, and stripes. Let your children pick their favourites, or try a combination of designs.
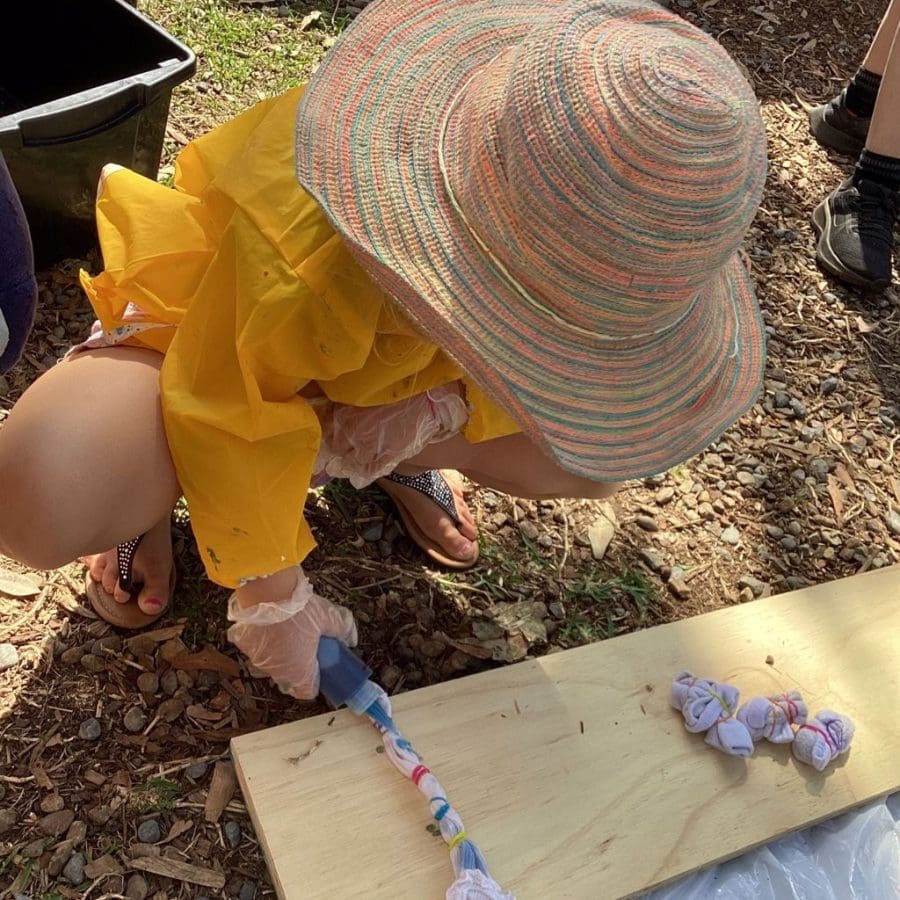
- Fold and Bind: Lay the white clothing item flat on your work surface. Pinch or fold it where you want the centre of your design to be. Secure sections with rubber bands. The way you fold and bind the fabric will determine the final pattern.
- Mix the Dye: Follow the instructions in your tie-dye kit to mix the dye colours. Encourage your children to experiment with different colour combinations.
- Apply the Dye: Carefully squeeze the dye onto the bound fabric, making sure to saturate it thoroughly. Let your little artists get creative with their designs.
- Wrap and Set: Once the fabric is dyed, wrap it in plastic wrap or place it in a plastic bag to keep it moist. Allow it to set for the recommended time specified in your tie-dye kit’s instructions.
- Rinse and Unwrap: After the set time has passed, rinse the dyed items under cold water until the water runs clear. Then, carefully remove the rubber bands and unfold the fabric to reveal the stunning designs.
- Wash and Dry: Wash the tie-dyed items separately in cold water to remove any excess dye, and then dry them.
Now, your family can proudly wear their vibrant, hand-crafted tie-dye creations!
This creative and sensory activity not only brings families together but also introduces children to a spectrum of colours, enabling them to identify, name, and experiment with hues. It will also boost their self-expression confidence, help them learn about the art of mixing, and develop an understanding of patterns and symmetry.
We hope you enjoy this colourful journey with your little one – don’t forget to share some pics with us of your creations!
Written By:
Jenny joined the Sustainable Play Preschool team in 2021 with a Bachelor of Arts, Communications and a Bachelor of Business from Charles Sturt University.
Whilst always interested in the power of nature, it was with the birth of her own daughter that she gained a greater appreciation for just how precious (and fleeting) childhood is, and the importance of providing children with a nature centric early learning experience.


